Working with account services
Table of contents
Create an account
Verify your identity
To undergo the procedure, follow the individual instructions provided by the customer support and billing department.
Enable 2FA
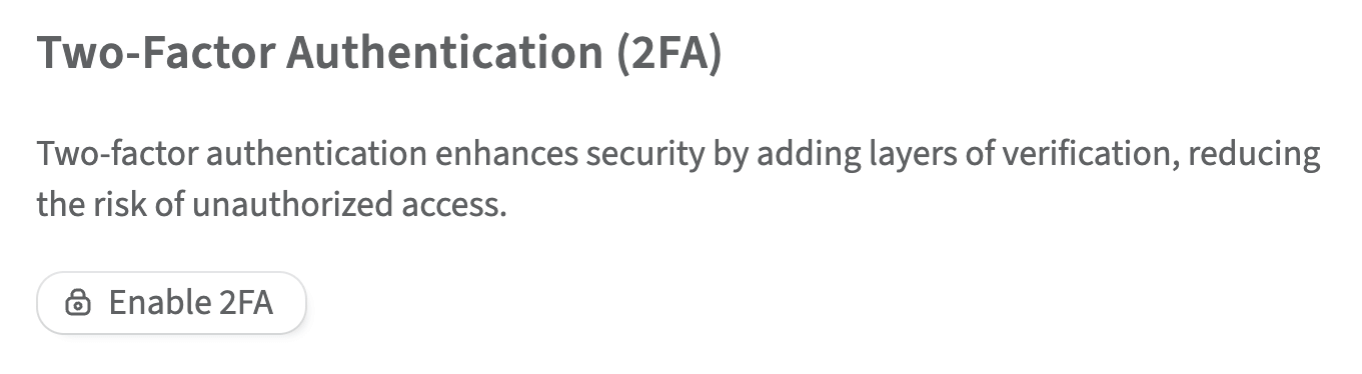
Two-Factor Authentication (2FA) significantly enhances account security.
To enable 2FA for your account, complete the following steps:
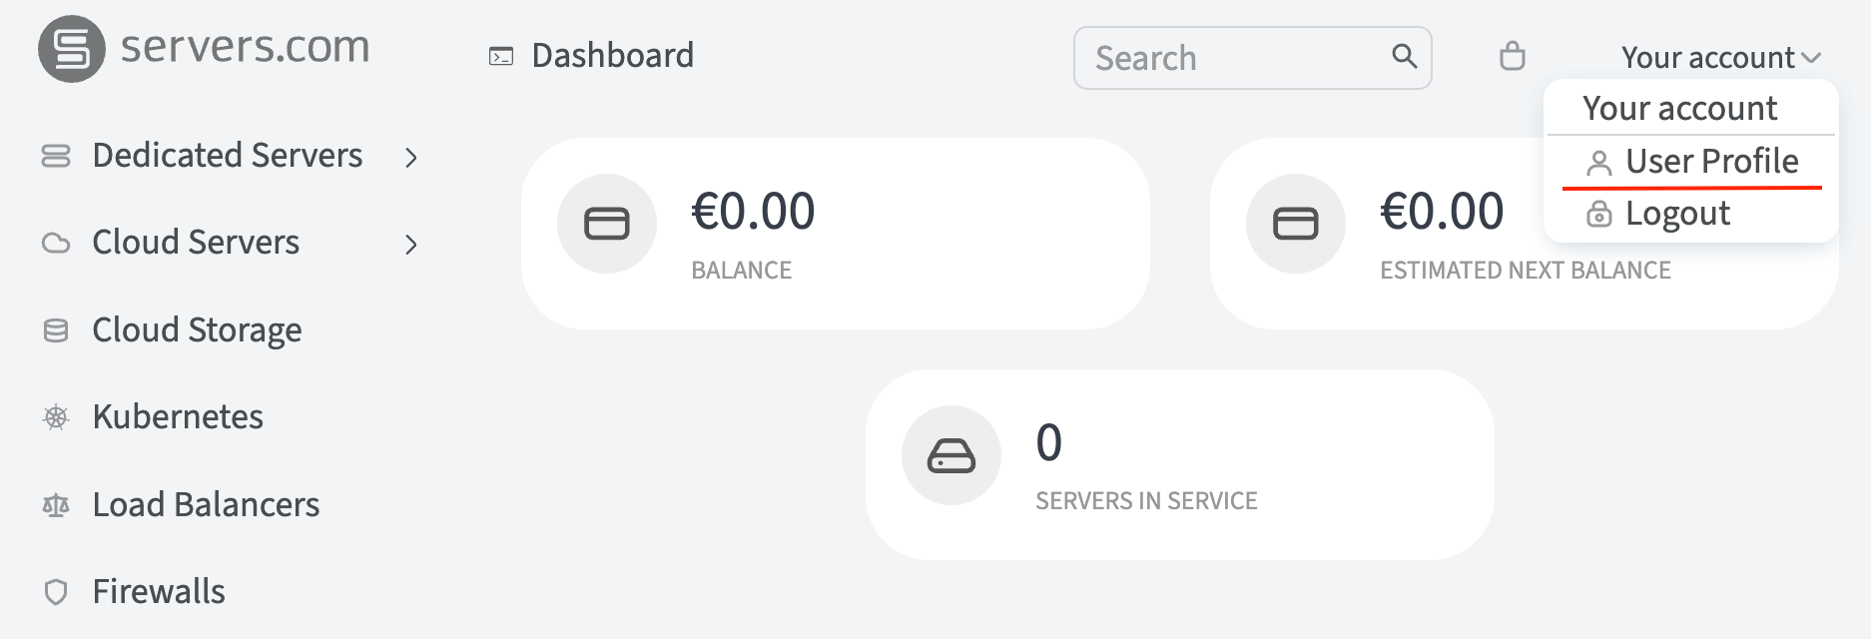
1. Click Account in the top right corner of the Customer Portal page → select User Profile.
2. Navigate to the 2FA section and click Enable 2FA
3. In the pop-up window that opens, enter the account password and a one-time token, which can be obtained in two ways:
-
By scanning the QR code using your smartphone camera with an authenticator application app
-
By clicking the link below the QR code
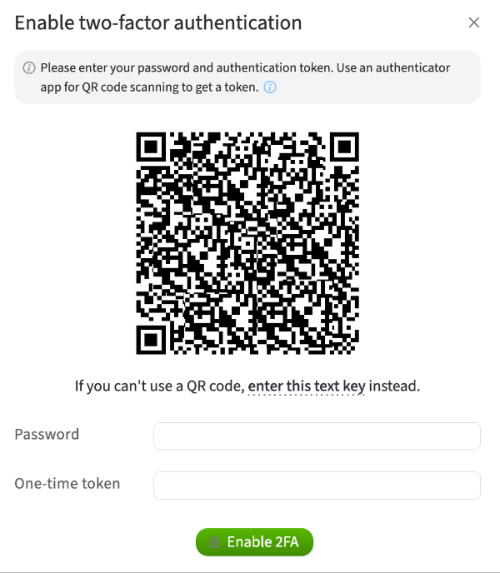
4. Click Enable 2FA
Two-factor authentication will be activated for your account.
Create an API token
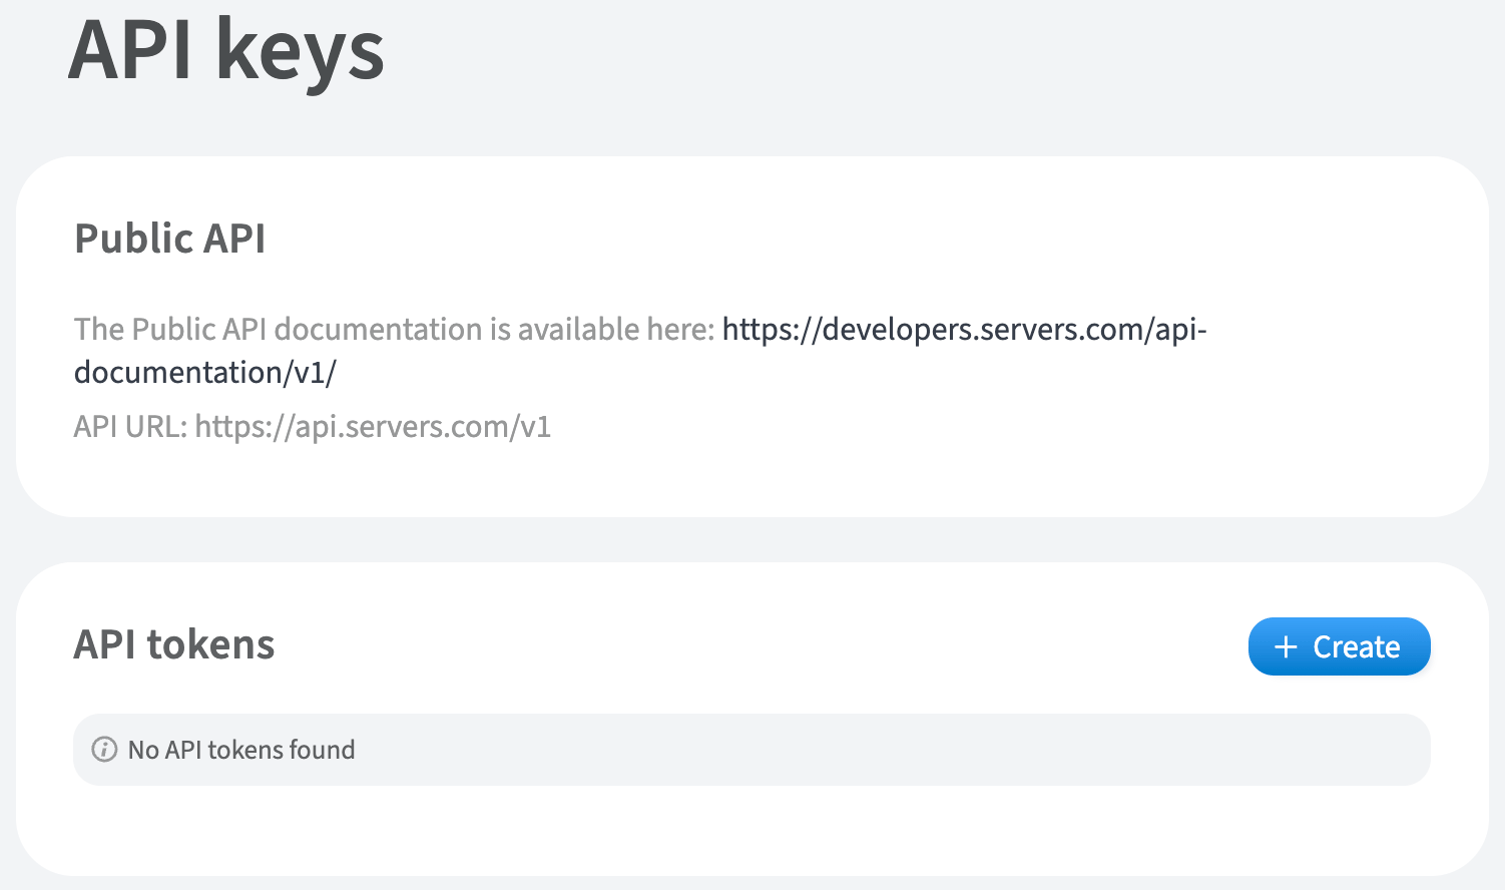
The API token is used for accessing the Public API.
To create the API token, complete the following steps:
1. In the left-hand menu, go to Identity and Access → API keys and click Create.
2. Enter the API token name and select the access level
3. Click Create
4. Enter the account password and click Continue
The created API token will appear.
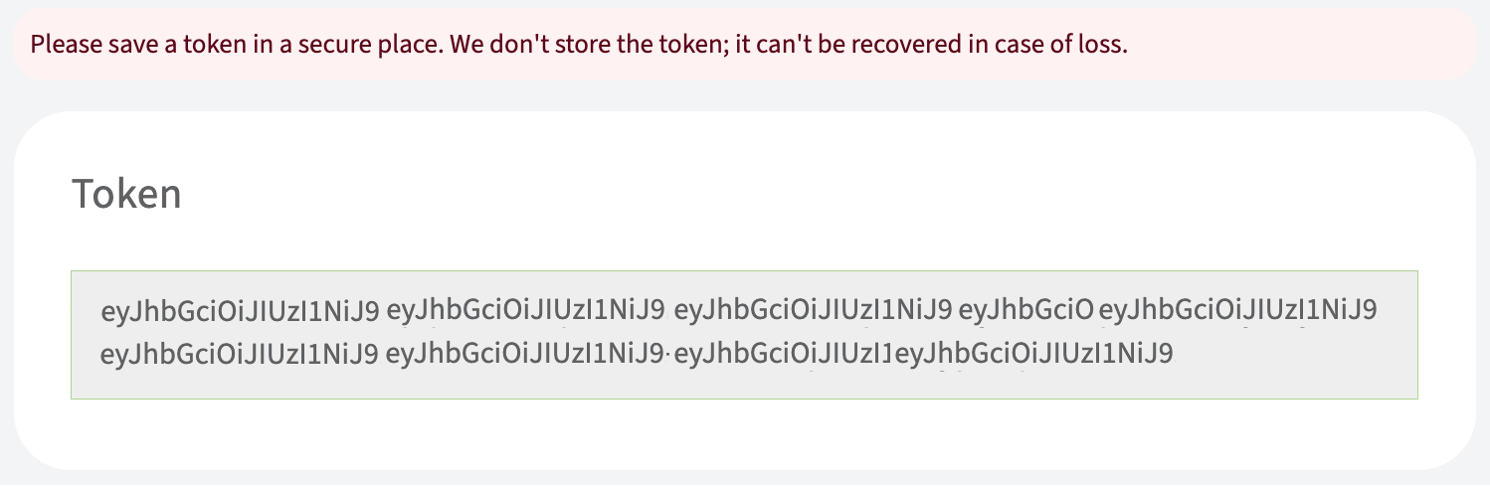
To return to the window with the list of existing API tokens, click Back to API tokens list.
We recommend storing the API token locally. API tokens are not stored in the Customer Portal and are not restored if lost.
Revoke an API token
To revoke the API token, complete the following steps:
1. In the left-hand menu, go to Identity and Access → API keys
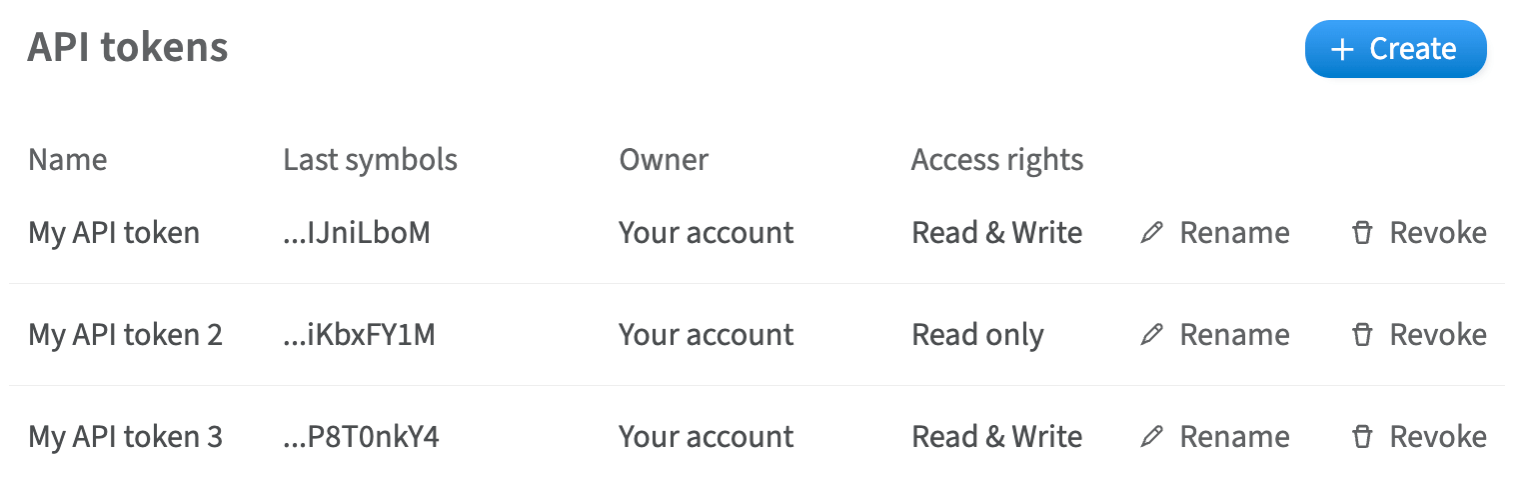
2. Select the API token you want to remove and click Revoke
3. Confirm by clicking Revoke
4. Enter the account password and click Continue
The API token will be removed.
⚠️ The API tokens are issued with the user account. When deactivating the user account, it is also necessary to remove the user's API token.
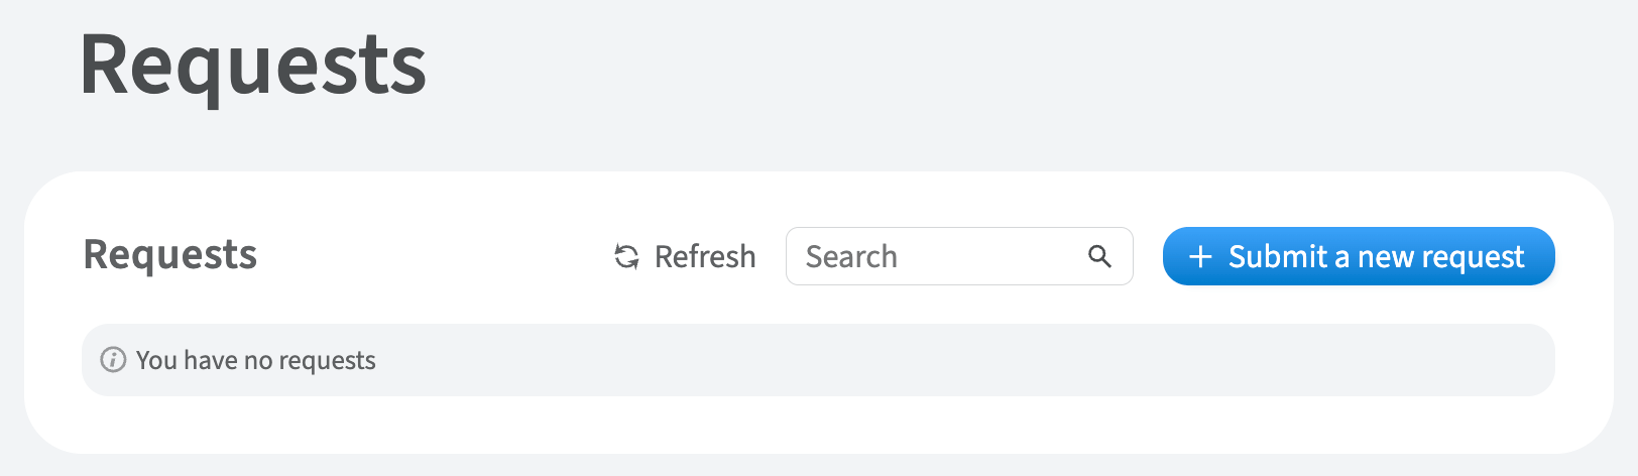
Create the support ticket
Create a support ticket to report an issue to the support team.
To create a support ticket, complete the following steps:
1. Go to Requests in the left-hand menu and click Submit a new request
2. Fill the form with the support ticket details.
3. Once you have finished, click Create.
4. Optionally, provide the additional details:
-
Specify the server that corresponds with the support ticket or click Skip to bypass adding additional details
-
Select the options that determine the access level to the server and enter the administrator password to the server
5. Once you have finished, click Submit
The support ticket will be created.
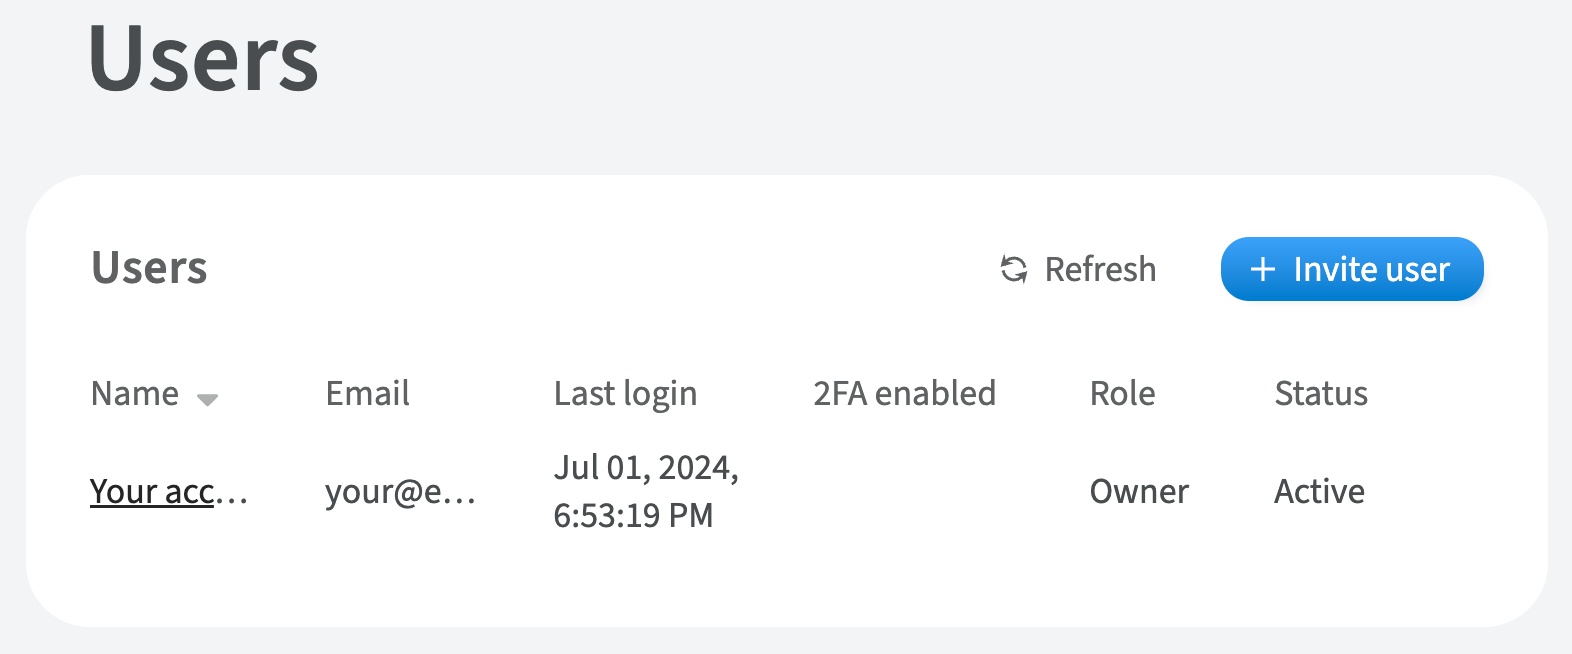
Add a user to the account
Adding users and assigning them roles is necessary for the distribution and control of permissions and access levels within the account.
To add the user to the account, complete the following steps:
1. In the left-hand menu, go to Identity and Access → Users and click Invite user
2. Fill the form with the following details:
-
Email: the user's email address for login to the user's account
-
Role: the role that will be assigned to the user
3. Click Send
4. Enter the account password and click Continue
The user will be added and an invitation with the link for activating the user's account will be sent to the user's email address.
Change the user role
To change the user role, complete the following steps:
1. In the left-hand menu, go to Identity and Access → Users
2. Select the required user from the list
3. Depending on the current user role:
-
Click Change to Manager to change user role from Owner to Manager or vice versa
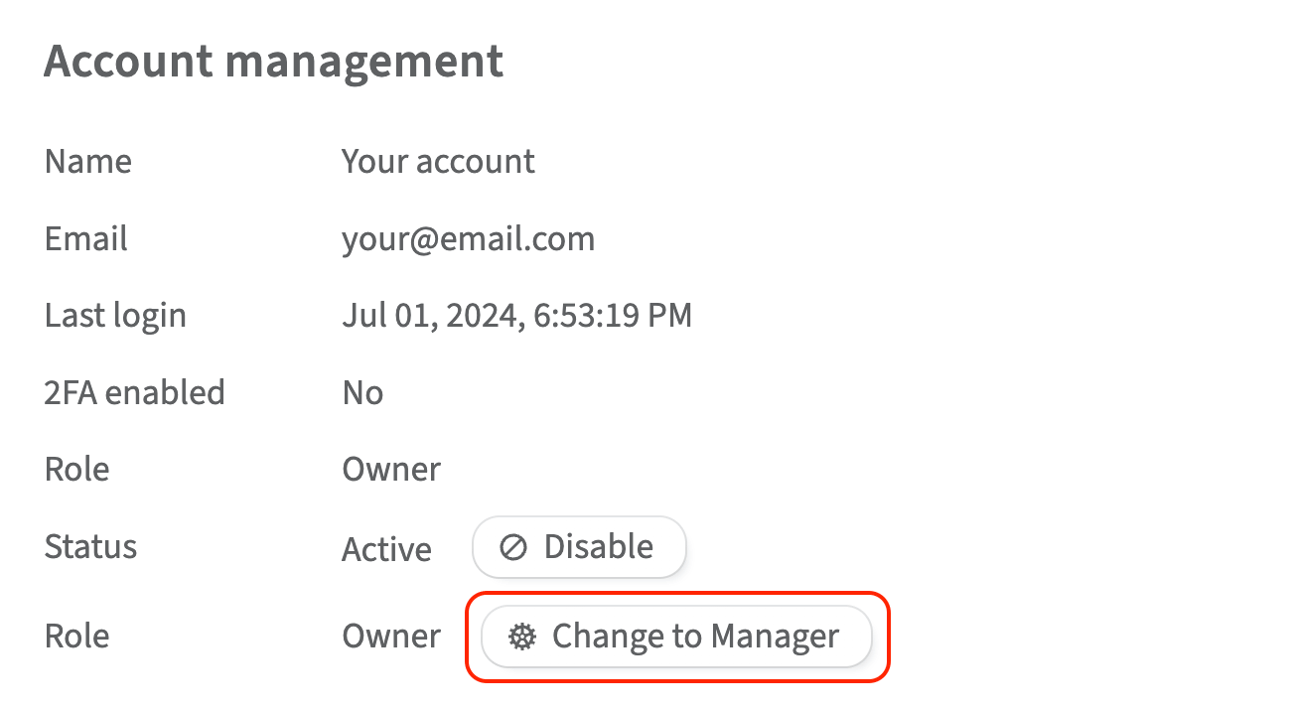
4. Enter the account password and click Continue
The user role will be changed.
Remove user from the account
To remove a user from the account, complete the following steps:
1. In the left-hand menu, go to Identity and Access → Users
2. Select the user you want to delete from the list
3. Change the Status to Disable
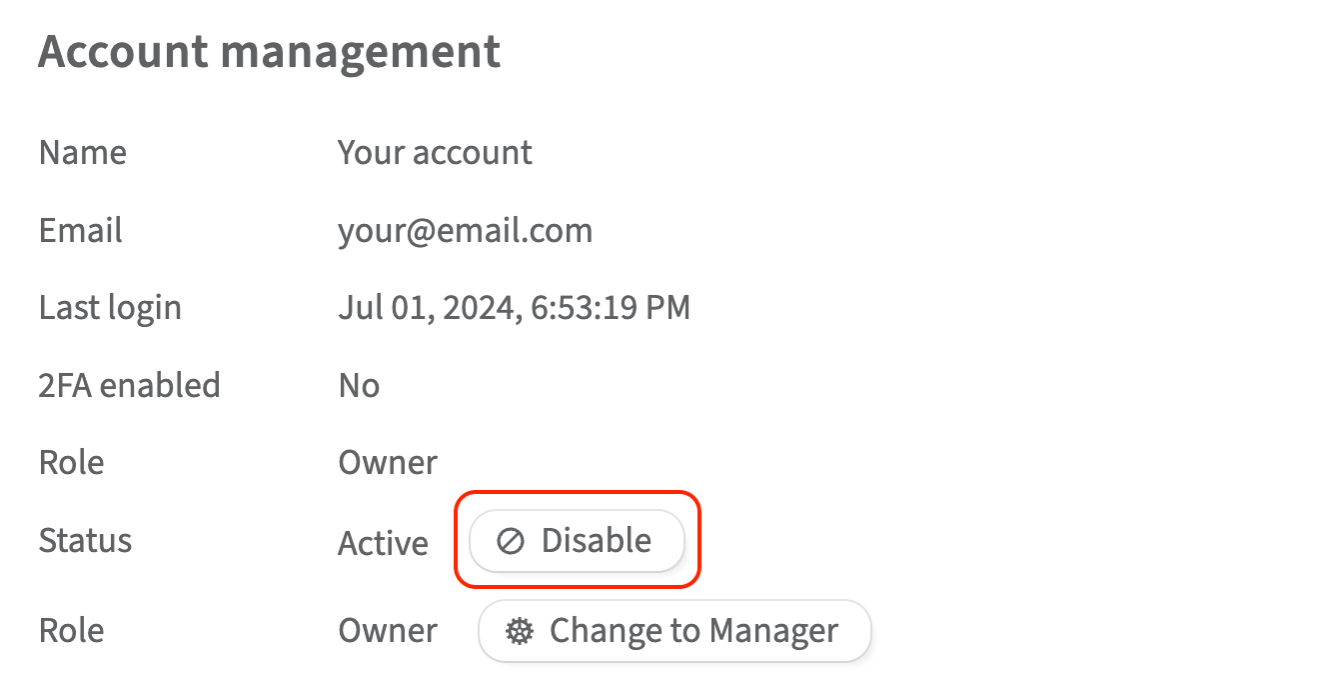
4. Enter the account password and click Continue
The user will be deleted from the account.
Add the contact
The contact is the email address that will be used to receive notifications.
To add the contact, complete the following steps:
1. In the left-hand menu, go to Account settings
2. Scroll to Contacts section and click Create
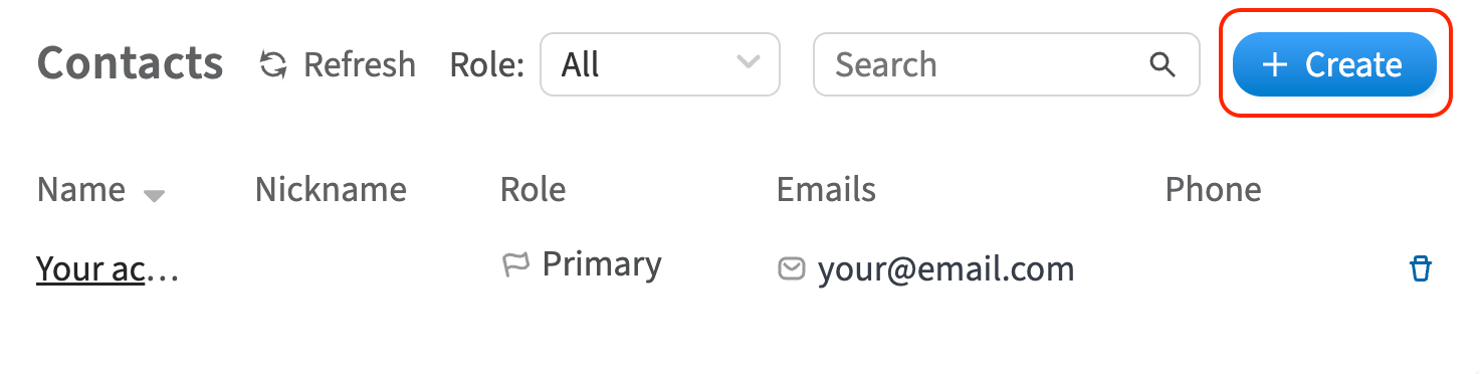
3. Fill the form with the contact details
4. Click Create
The contact will be added.
You can view the created contact in the list on Profile → Contacts
Remove the contact
To remove the contact, complete the following steps:
1. In the left-hand menu, go to Account settings
2. Scroll to Contacts section and click the trash icon next to the contact you want to delete
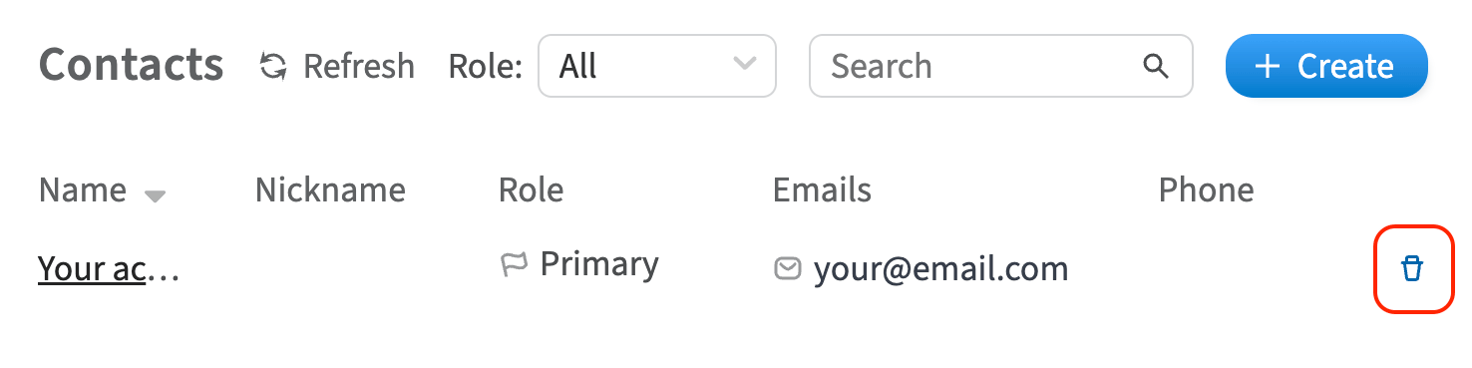
3. Confirm by clicking Delete
The contact will be removed.
Add the SSH key
SSH key is a reliable and safe alternative for the password authentication.
To add the SSH key, complete the following steps:
1. In the left-hand menu, go to Identity and Access → SSH & GPG keys and click Create

2. Fill in the form with the SSH key details
-
Name: enter the name of the SSH key
-
SSH key source: use your own public SSH key or generate the new one
-
Public key: specify your own public key you want to use as the SSH key source
3. Click Create
The generated SSH key will appear. To copy the SSH key click the copy button in the upper right corner of the window.
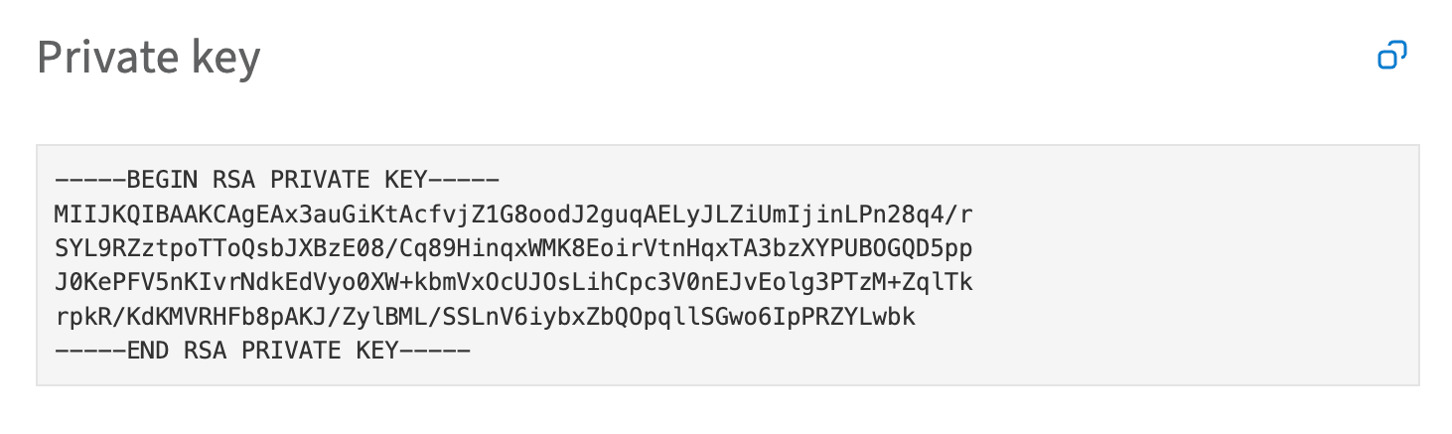
⚠️ We recommend storing the SSH key locally. SSH keys are not stored in the Customer Portal and are not restored if lost.
The SSH key will be added.
Remove the SSH key
To remove the SSH key:
1. In the left-hand menu, go to Identity and Access → SSH & GPG keys
2. Select the SSH key you want to delete from the list and click the trash icon
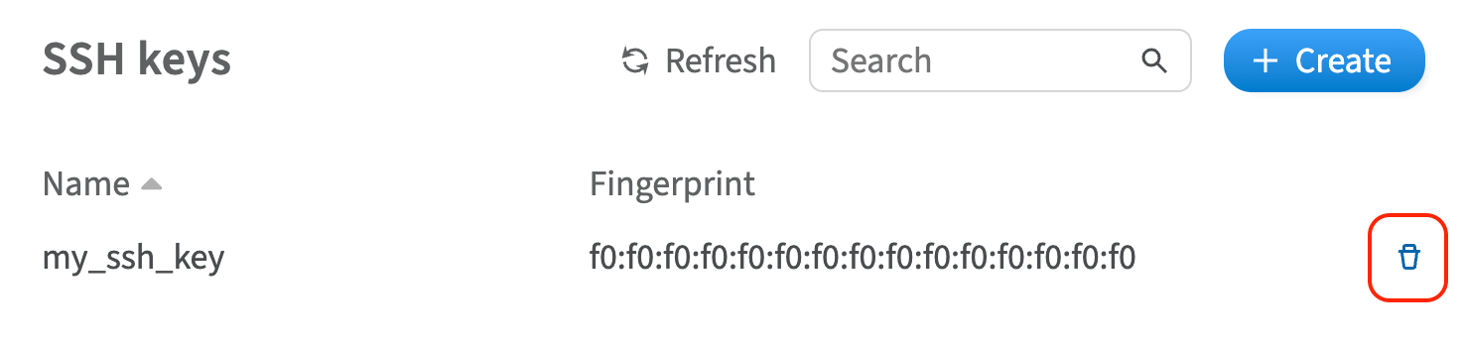
3. Confirm by clicking Delete
The SSH key will be deleted.
Give support access to the account
If needed, you can give account access to our support team for 24 hours.
To do this, complete the following steps:
1. In the left-hand menu, go to Account settings
2. Scroll to the Support access section and click Allow
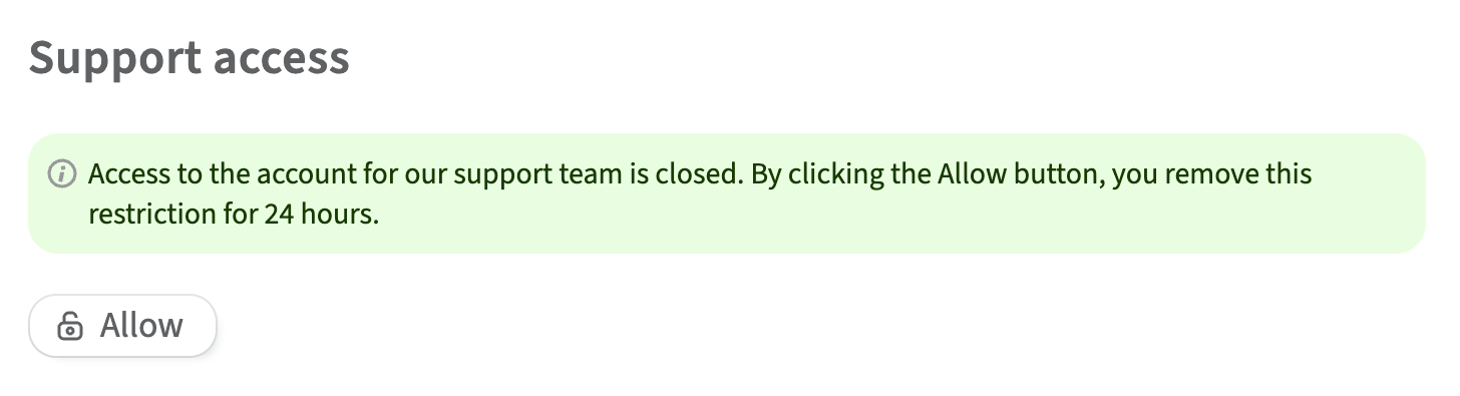
3. To confirm access click Continue
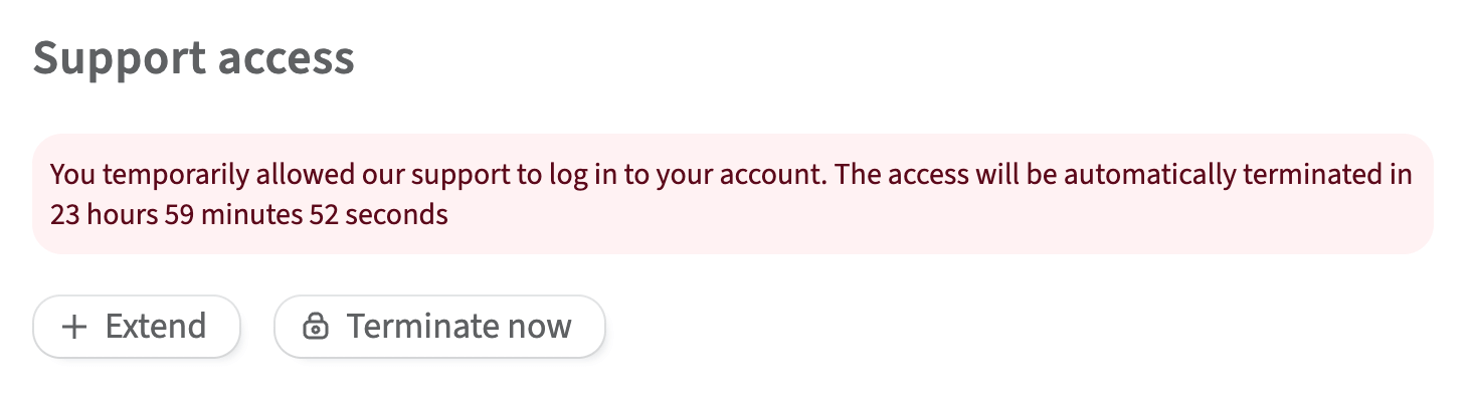
Access to your account for our support team will be granted for 24 hours. You can extend the access or terminate it when it is no longer necessary.
Change the account password
To change the account password, complete the following steps:
1. Click Account name in the top right corner of the Customer Portal page and select User Profile

2. Scroll to the Change password section and click Change password
3. Fill the form with the old and new passwords and click Save
The account password will be changed.
Deactivate the account
To deactivate an account, all users must be removed from the account. Once the last user is deactivated, a request will be sent to the Billing Department to check the account for any outstanding debts, active services, or remaining balance. Once all these billing issues are resolved, the account will be deactivated.
To deactivate the account, a user with the ‘owner’ role must complete the following steps:
1. Remove all the users from the account by following the instructions above
2. Click Account name in the top right corner of the Customer Portal page and select User Profile
3. Scroll to the Deactivate user section and click Deactivate user
4. To confirm deactivation request click Deactivate
5. Enter the account password and click Continue
The request for the account deactivation will be sent to the Customer Portal team.
Share
Suggested Articles
- Cloud servers
- Cloud server volumes
- DNS
- Cloud Storage
- Customer Portal
- Dedicated servers
- Firewall
- Forex VPS
- How it works
- Kubernetes clusters
- L2 segments
- Load balancing
- Scalable bare metal
- VPN to GPN