Getting started
How to order a dedicated server
To order a dedicated server, complete the following steps:
1. Go to the customer portal
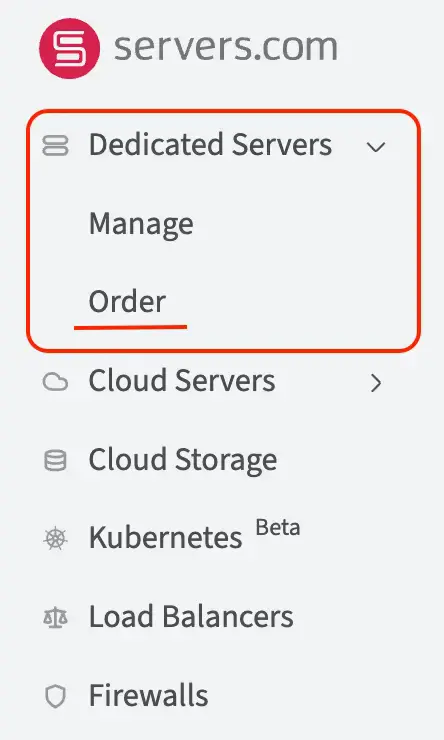
2. In the left-hand menu, navigate to Dedicated Servers and select Order
3. Choose a dedicated server that fits your requirements, then click Order Now

USD→EUR – These icons indicate the difference between the server location currency and the account currency.
4. In the configuration window, customize the following settings for your selected dedicated server:
-
Location: where the server will be deployed
-
RAM size: amount of RAM
-
Operating system: the OS that will be installed on the server after provisioning is complete. You can choose and install the OS after ordering the server
-
Select the authentication method: SSH key and/or password. This option will appear once you have selected the operating system in the previous step
-
RAID: Configure the RAID array based on your performance and reliability needs, if applicable. More details about RAID can be found here
-
Hard drive configuration:
-
-
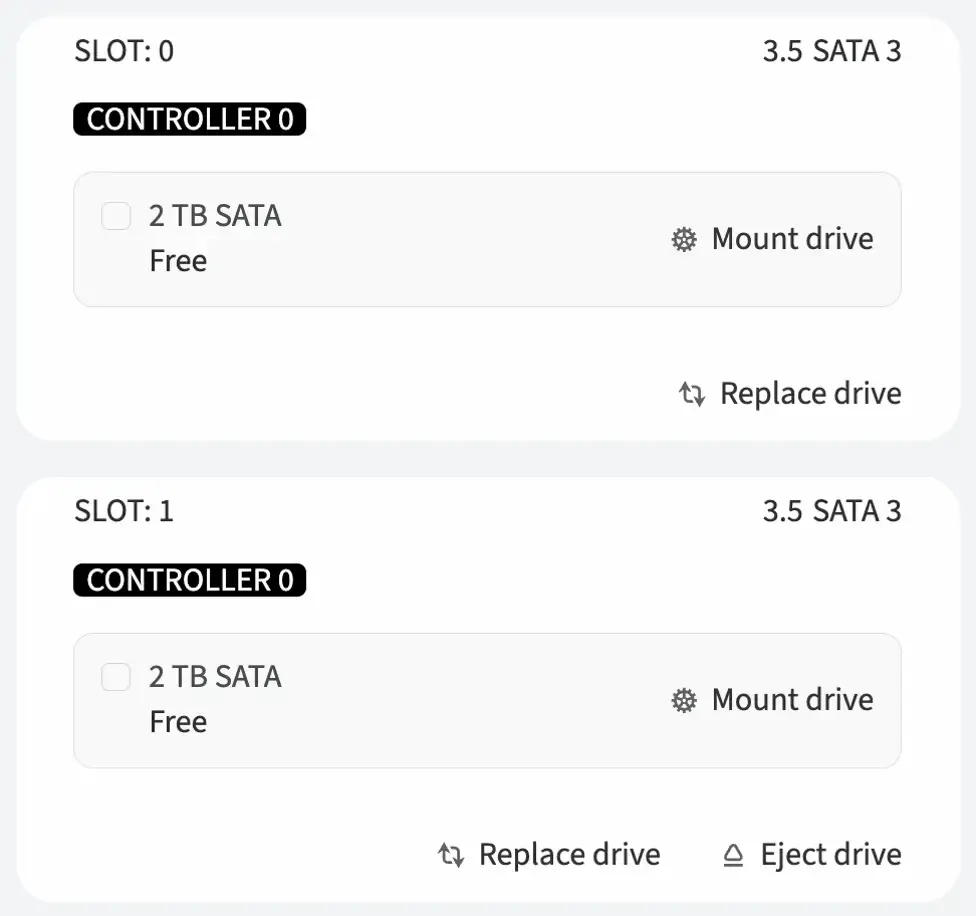
Controller: indicates the available controllers on the server to which drives can be mounted. In this example, the selected server has one controller with two available slots
-
Slot: the slot number where the hard drive will be mounted
-
3.5 SATA 3: specifies the hard drive's form factor (3.5 inches) and interface type (SATA 3)
-
2 TB SATA: shows the capacity of the hard drive
-
Mount drive: mounts the selected disk to the specified slot with further ability to manage disk partitions
-
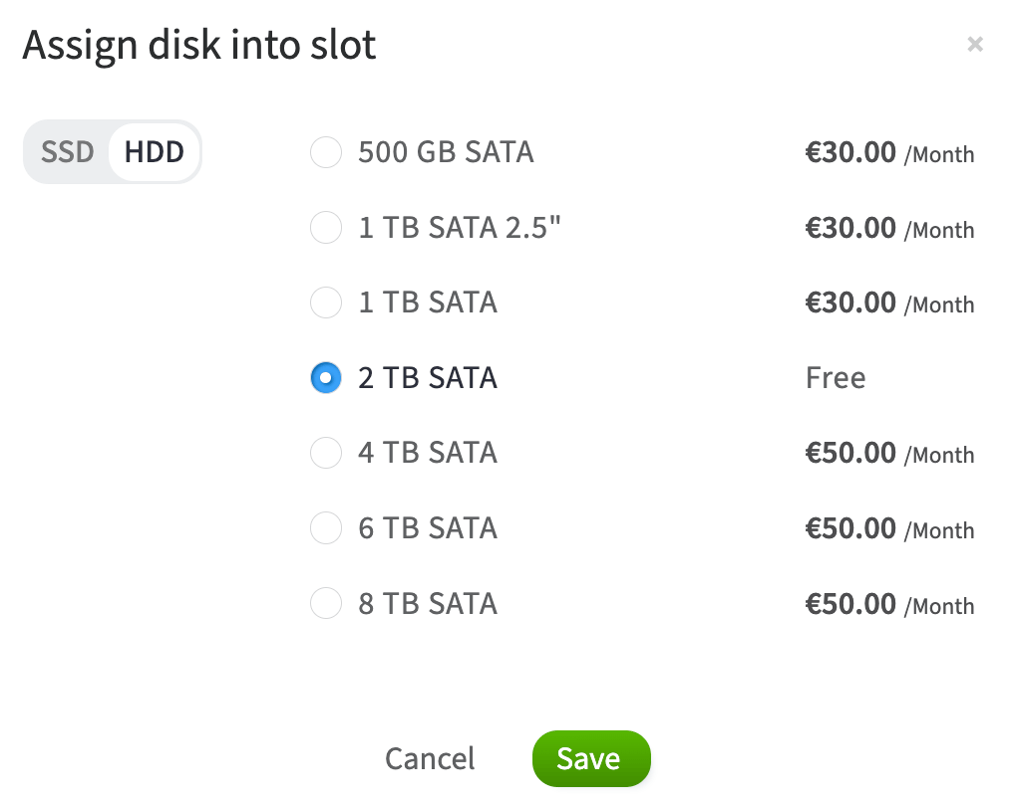
Replace drive: opens a list of available drives. Select a suitable SSD or HDD and click Save
-
-
-
Eject drive: removes the drive from the slot
-
-
Public uplink port: provides the server with internet access, allowing it to send and receive data from external sources
-
Private uplink port: connects the server to a private network, enabling secure and high-speed communication with other devices within the same network, separate from the public internet
-
Network features: allows users to select additional network options for their server, where:
-
-
No private IP addresses: the server will not be assigned any private IP addresses
-
No public IP address: the server will not be assigned a public IP address
-
IPv6 subnet (/64): the server will be assigned an IPv6 subnet
-
-
Bandwidth plan: a plan based on data traffic usage. The "By traffic amount" option charges users for data usage beyond a specified limit, with overuse billed at a certain rate per GB per month
-
Public IP address count: specifies how many unique public IP addresses will be assigned to the server
-
Group: Groups dedicated servers together. This option is available if you have at least one ordered server. More details about dedicated server groups can be found here
-
Quantity: specifies the quantity of dedicated servers with the selected configuration
-
Name: assigns a name to the dedicated server
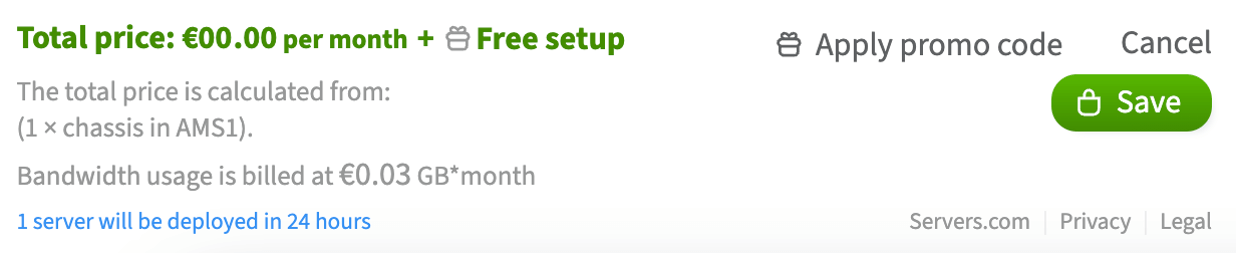
5. Once the server is configured, review the final details at the bottom of the window and click Save
-
Total price: the monthly rental price for the configured dedicated server. It is calculated from a breakdown of selected services and their costs
-
Apply promo code: allows users to apply a promotional code to receive discounts or special offers
-
Cancel: cancels the selected configuration and returns to the initial list of dedicated servers
6. Save the configuration and proceed to the cart by clicking the Save button
7. Review the selected items in your cart and click Buy now
8. Click Confirm.
9. Choose a payment method
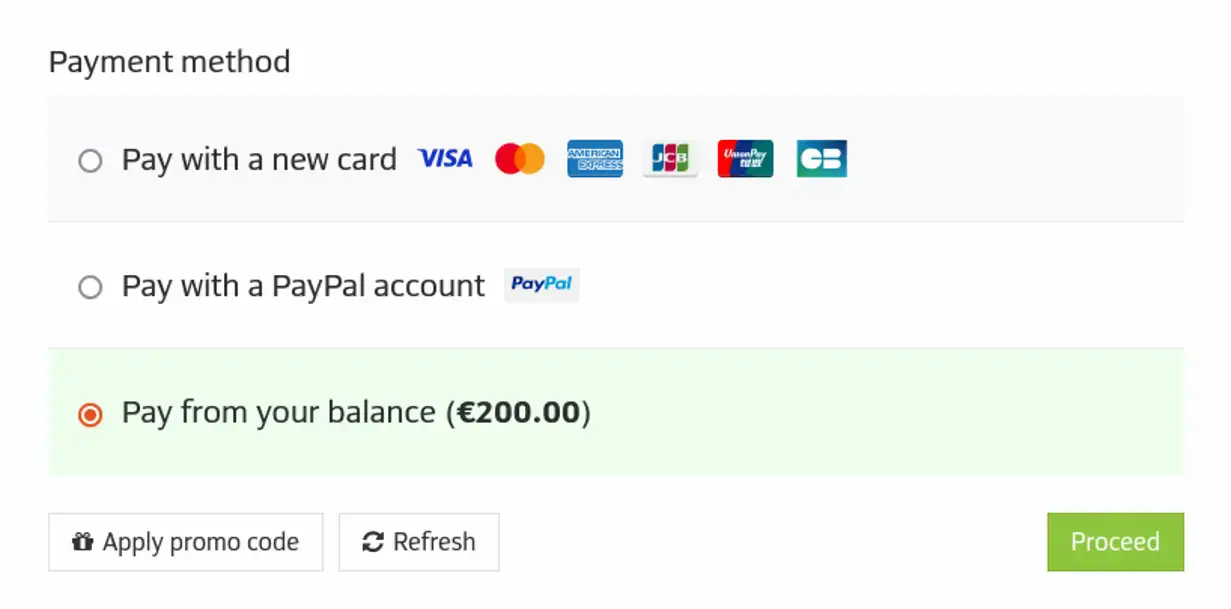
To pay for the dedicated server from your account balance, top up your account balance to cover the monthly rental. The account balance payment method will be available in the payment details window. More details can be found here.
Please note that when adding a payment method and making the first payment, identity verification may be required as part of the Know Your Customer (KYC) procedure to prevent violations of company policies. Details can be found here. Review the terms and conditions, and click Proceed
10. In the new tab, enter your card details and click Verify
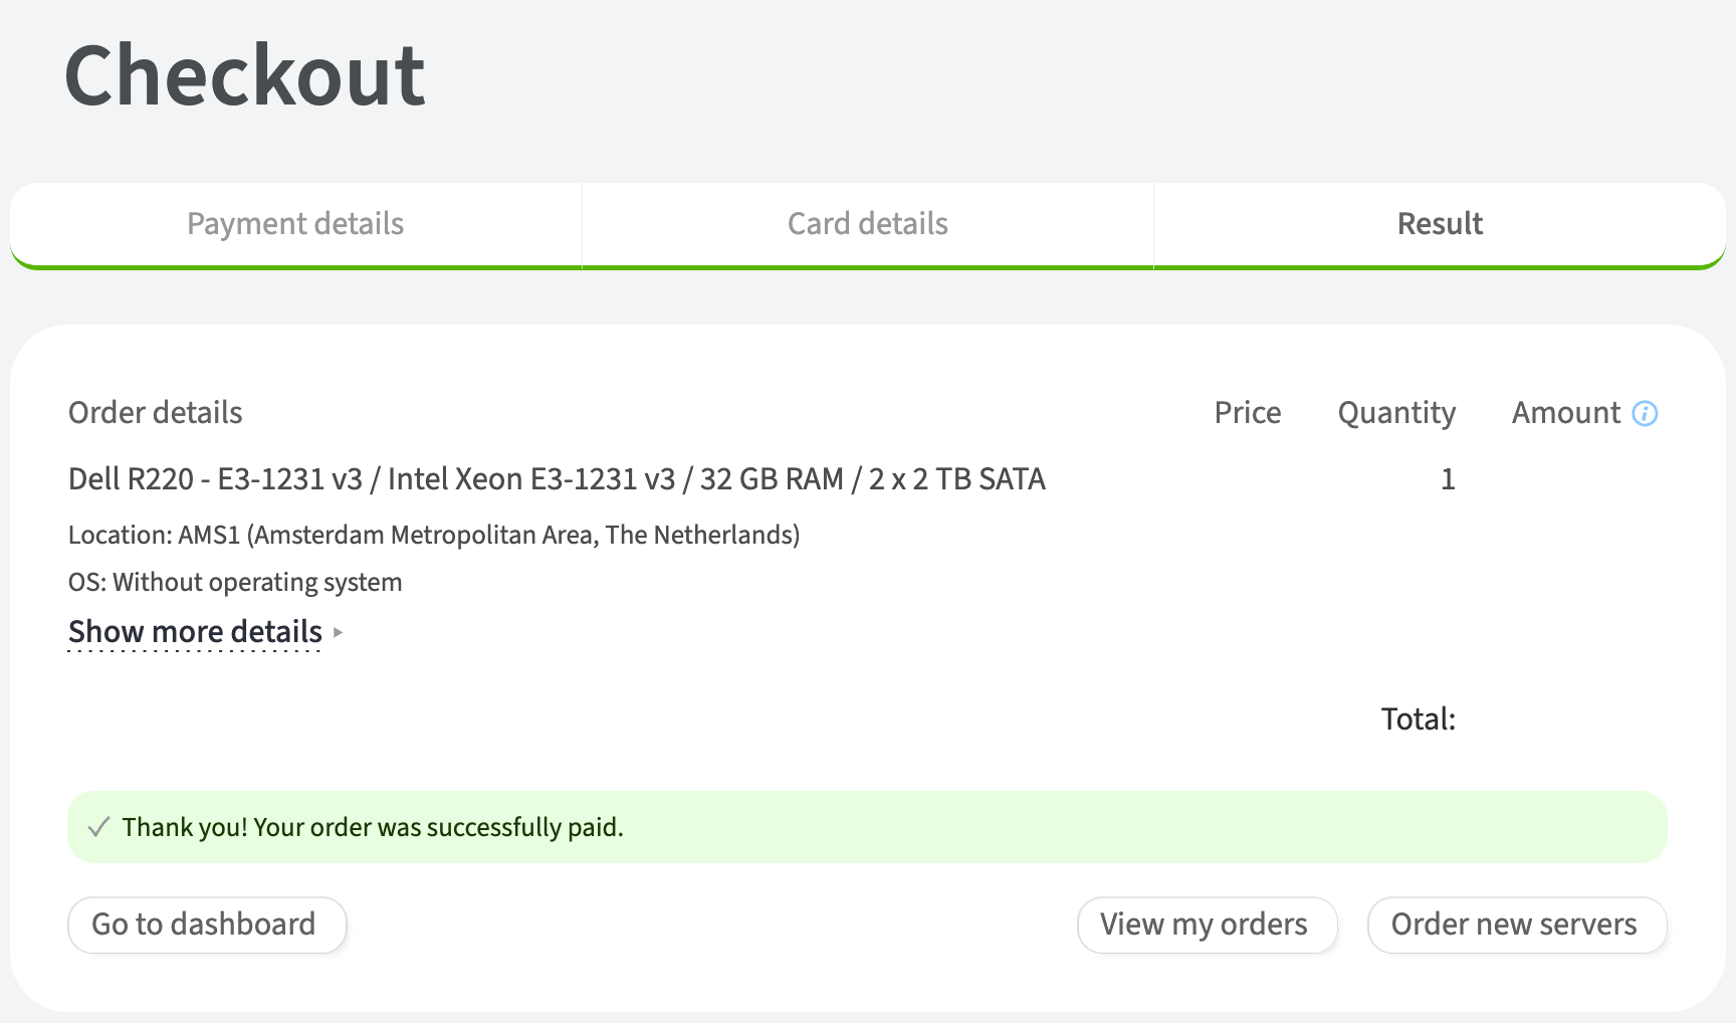
Your order will be deployed according to the provisioning timeline.
To check the status of your ordered dedicated servers, click View my orders.
Share
- Cloud servers
- Cloud server volumes
- DNS
- Cloud Storage
- Customer Portal
- Dedicated servers
- Firewall
- Forex VPS
- How it works
- Kubernetes clusters
- L2 segments
- Load balancing
- Scalable bare metal
- VPN to GPN